
How Decision Profile Mapping Works — A Practitioner's Guide
- Kylee Ingram
- 2 days ago
- 5 min read

Most teams don't fail because they make bad decisions. They fail because they make decisions the same way, with the same mix of thinking, every time.
Decision Profile Mapping changes that. It shows you how the people in your organisation actually approach decisions — and where the mix is going to let you down.
This is a guide to what mapping does, how to run it, and what to expect at each stage. Written for the leader who's been asked to drive it, or who's wondering whether it's worth the effort.
What Decision Profile Mapping is — and what it isn't
Decision Profile Mapping captures how each person in your team naturally approaches decisions. Not their personality. Not their preferences. The lens they bring when they're weighing a real call.
It places each person into one of seven Decision Power Profiles:
Visionary — big-picture direction, future-focused
Guardian — risk, governance, protection
Explorer — new ideas, options, experimentation
Deliverer — process, follow-through, execution
Analyzer — evidence, logic, rigour
Collaborator — perspective-gathering, shared input
Achiever — targets, performance, ambition
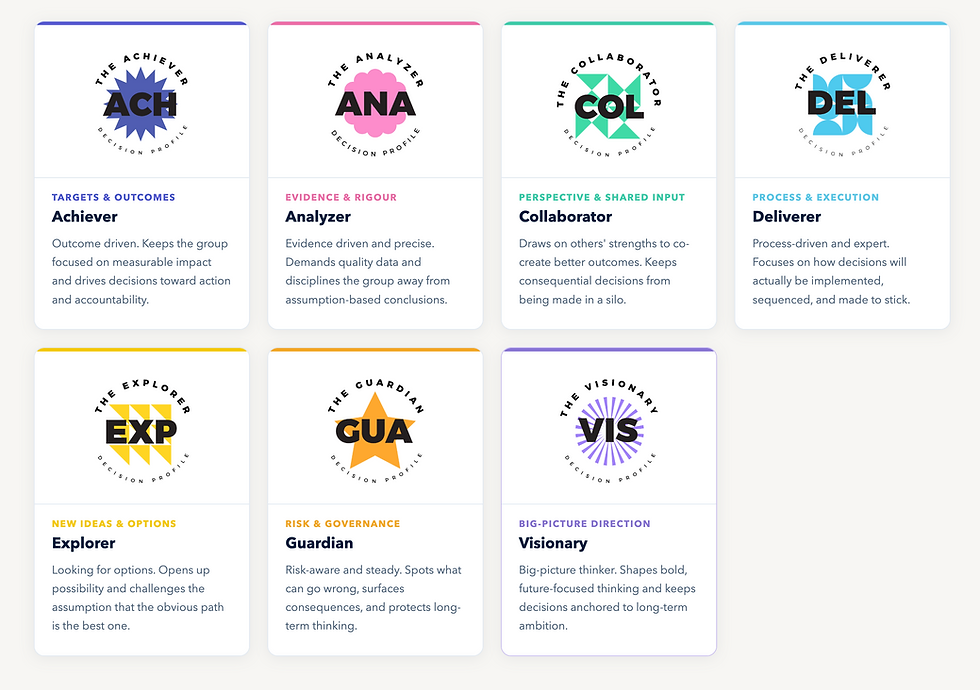
Each profile is a strength. None is better than another. The point of mapping isn't to label people. It's to make visible the mix of decision-making styles in any team — and surface where the mix is unbalanced.
It's not a personality assessment. It's not a one-off workshop. It's a working diagnostic that tells you which thinking styles dominate your decisions, which are structurally missing, and where blind spots are likely to compound.
Why the mix matters more than the individuals
Dr Juliet Bourke's research on cognitive diversity found that teams with diverse thinking styles and inclusive leaders make 30% fewer decision errors and produce 20% more innovation. Wise Crowds research has shown the same pattern across decades and across industries — independent, diverse perspectives consistently produce better collective decisions than homogeneous groups, even when the homogeneous group is more expert.
The pattern Wizer sees across more than 7,000 mapped profiles is consistent: most senior leadership teams cluster heavily around two styles — usually Achiever (outcomes) and Explorer (options). Guardian and Analyzer voices are often structurally underrepresented. Which means risk and rigour show up late in decisions, if at all.
Once you can see this, you can design around it.
What you get from mapping
Three things, in order:
1. A clear picture of your team's decision DNA. You see which profiles dominate, which are missing, and how the mix changes across teams, functions, or seniority levels.
2. Hidden talent surfaced. People you've overlooked because they don't match the dominant style of the team — but who bring exactly the thinking your decisions are missing.
3. The ability to compose decision panels deliberately. Instead of defaulting to "who's available" or "who reports to me," you start choosing the mix of thinking each decision actually needs.

How to run mapping in your organisation
Five steps. Most organisations complete the full roll-out in two to four weeks.
Step 1: Notify your people first
Before invitations go out, send a short pre-email explaining what's coming and why.
This isn't an assessment of who people are. It's a way to understand how different perspectives shape decisions, and make better use of them. Framing the invitation this way matters — it lifts completion rates, reduces scepticism, and sets the right expectation about what mapping actually does.
The pre-email is the single highest-leverage step in the whole process. Skip it and completion drops by 30–40%.
Step 2: Add your people to the platform
Upload via CSV or invite individually. Each person receives an email with a link to complete their profile.
The profile itself takes around four minutes. No registration required beyond an email address. Individual results are visible to the person immediately. Here is a video - How to add your people
Step 3: Send the follow-up
Three days after the initial invitation, send a short follow-up to anyone who hasn't completed their profile. Most non-responders are busy, not resistant — a single reminder typically lifts completion by 15–20 percent.
Step 4: Understand the individual profiles
As profiles come in, each person sees their own result — their dominant style, the secondary styles that shape their thinking, and how they tend to behave under pressure.
This is also where the conversation starts to shift. Once people know their own profile, they begin to recognise the same patterns in colleagues. "She's just like that" becomes "she's a Guardian — that's why she's asking about the risk." That's a more useful conversation.
Step 5: Build groups and panels
Now the data does work. Create groups based on real decisions you're making — strategic initiatives, project teams, the executive committee, board sub-committees.
For each group, you'll see:
The decision-style breakdown of the panel
Which profiles are structurally missing
Whether the group is over-indexed on any single style
Suggestions for who could be added to round out the mix
Panels can be permanent (your executive team, your innovation committee) or built for one decision (a critical hire, an investment call, a strategic pivot). Both are useful.

What patterns to look for in the data
Three things to pay attention to as your data fills in:
Where the team clusters. If 60% of your senior team falls into two profiles, that's not a problem in itself — but it tells you which questions won't be asked unless you deliberately add them. A team of Achievers and Explorers will move fast and try new things. They'll often miss risk and evidence. Knowing that lets you build around it.
Where styles are entirely absent. Look for profiles with zero or one representative across the whole team. A leadership group with no Guardians is structurally exposed to risk it won't see coming. A team with no Analyzers will struggle to test alternatives properly. Absence is more dangerous than under-representation.
Where hidden talent sits. People with valuable profiles who aren't in the rooms where their thinking is needed. A quiet Analyzer in operations might be exactly who your strategy team needs but never asks.
What mapping doesn't fix on its own
Mapping is the diagnostic. It tells you what you're working with. It doesn't fix anything on its own.
The value compounds when you start applying the data to live decisions — composing panels deliberately, surfacing the missing voices before a call is made, and adapting communication to match how each person decides.
Most clients use mapping as the starting point and move into the Live Decision Platform that includes Panel Strength and Live Decision Science within weeks of completing the roll-out.
When to start
If you can answer yes to any of these, mapping will pay back quickly:
You've made a recent decision that, in hindsight, was shaped more by who was in the room than by the question itself
You have team members whose thinking you value but who don't get involved in major decisions
Your leadership team agrees too quickly, or disagrees in ways that don't resolve
You've used personality assessments before and felt the value didn't last past the workshop
Individual Decision Profiles are always free at wizer.business/decision-profiles. Start with your own. Then your leadership team. Then the rest of the organisation.


